


Spider Grills
The Webcraft®
The Webcraft®
UPGRADE YOUR WEBER® KETTLE CHARCOAL GRILL
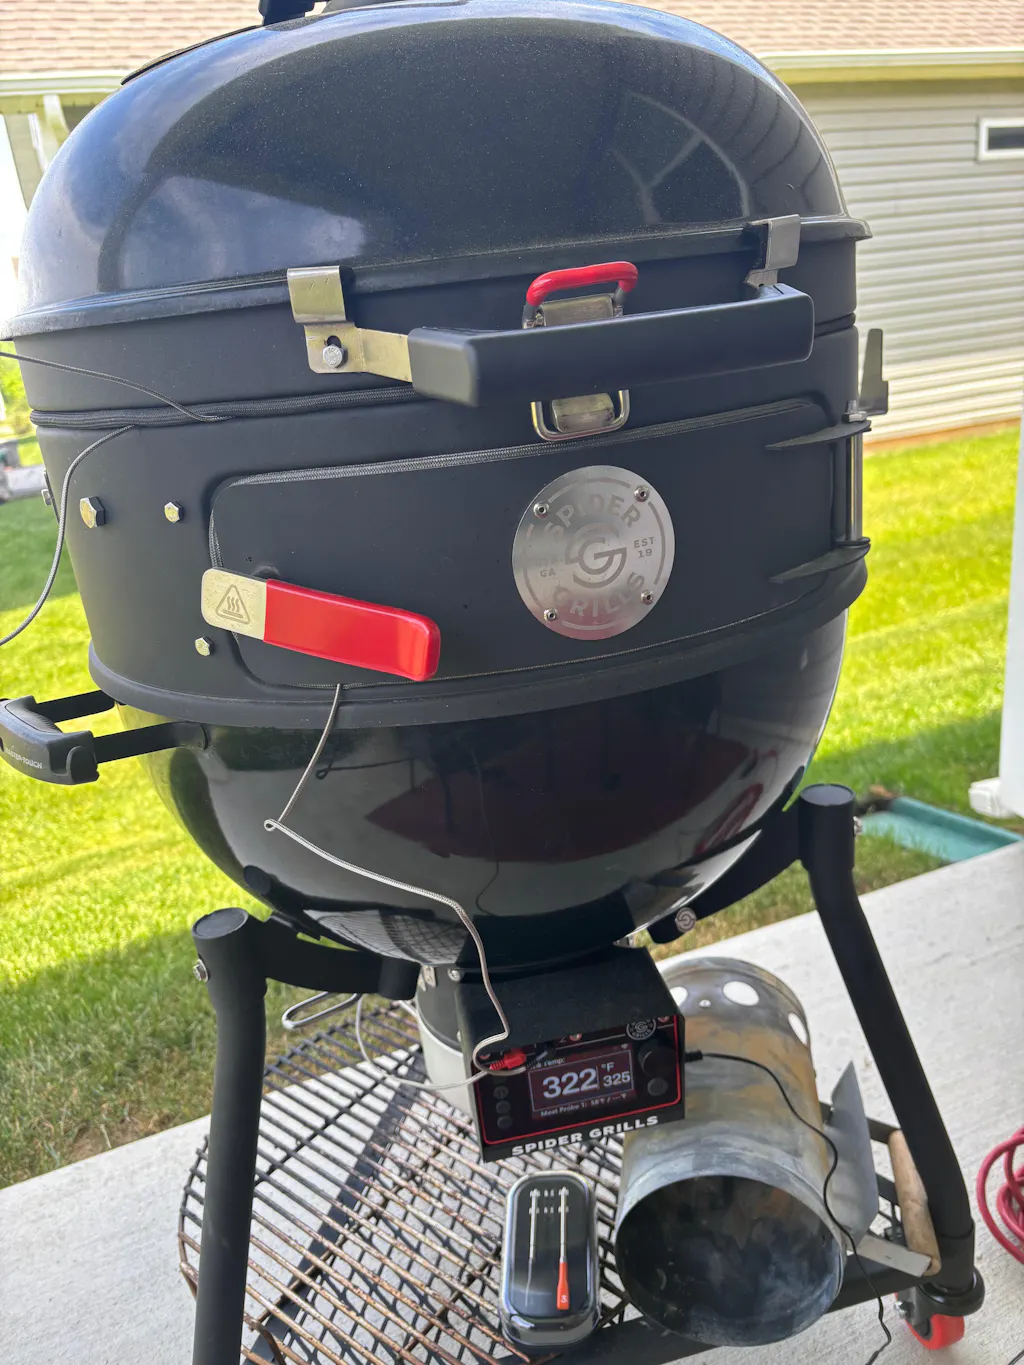
Turn your standard kettle grill into a complete live-fire cooking platform with the Webcraft® Cooking Ring. Built as the foundation of the Spider Grills ecosystem, the Webcraft® transforms your existing kettle into a modular cooking system capable of supporting accessories like the rotisserie, pizza oven, NextLevel™ cooking system, and side shelves.
Includes: Webcraft® with Hinge, 2x Lid Locks, Lid Locking Handle, Charcoal Tool, Mounted Tool Holder, Back Leg Stabilizer Foot.
Additional accessories sold separately.
Couldn't load pickup availability
Product Features
Product Features
• Converts your 22-inch Weber® kettle grill into a modular live-fire cooking system
• Compatible with 22-inch Regular Huntsman™ accessories like the rotisserie, pizza oven, and side shelves
• Front charcoal access door allows you to add fuel without removing the lid
• Mid-level cooking grate enables multi-level cooking setups
• Venom® Temperature Controller compatibility for precise airflow and temperature control (Venom sold separately)
• Integrated probe ports for RTD temperature monitoring
• Includes charcoal tool and tool rest
• Stabilizer foot improves grill stability
• Heavy-duty construction built for high-heat charcoal cooking
3-year limited warranty
Weber Grill Compatability
Weber Grill Compatability
Compatible grills include most standard 22" Weber kettle models such as:
• Weber Original Kettle 22"
• Weber Premium Kettle 22"
• Weber Master-Touch 22"
For proper fitment, the kettle bowl should be oriented with the handle at the rear and the ash arm on the left side during installation.
Quick Install Guide
Quick Install Guide
1. Remove the lid and cooking grate
Start by removing the kettle lid and cooking grate from your 22" Weber kettle grill.
2. Position the Webcraft ring
Place the Webcraft onto the kettle bowl, making sure the front lip hooks under the front rim of the kettle bowl.
3. Install kettle brackets
Attach the kettle brackets using the included screws and tighten to create a snug fit between the kettle bowl and Webcraft.
4. Reinstall the lid
Place the kettle lid on top of the Webcraft. For indirect smoking setups, orient the lid vent to the left side.
5. Install handle and stabilizer foot
Attach the front handle and install the stabilizer foot on the rear leg of the kettle for additional support.
Share


6 pound pork butt
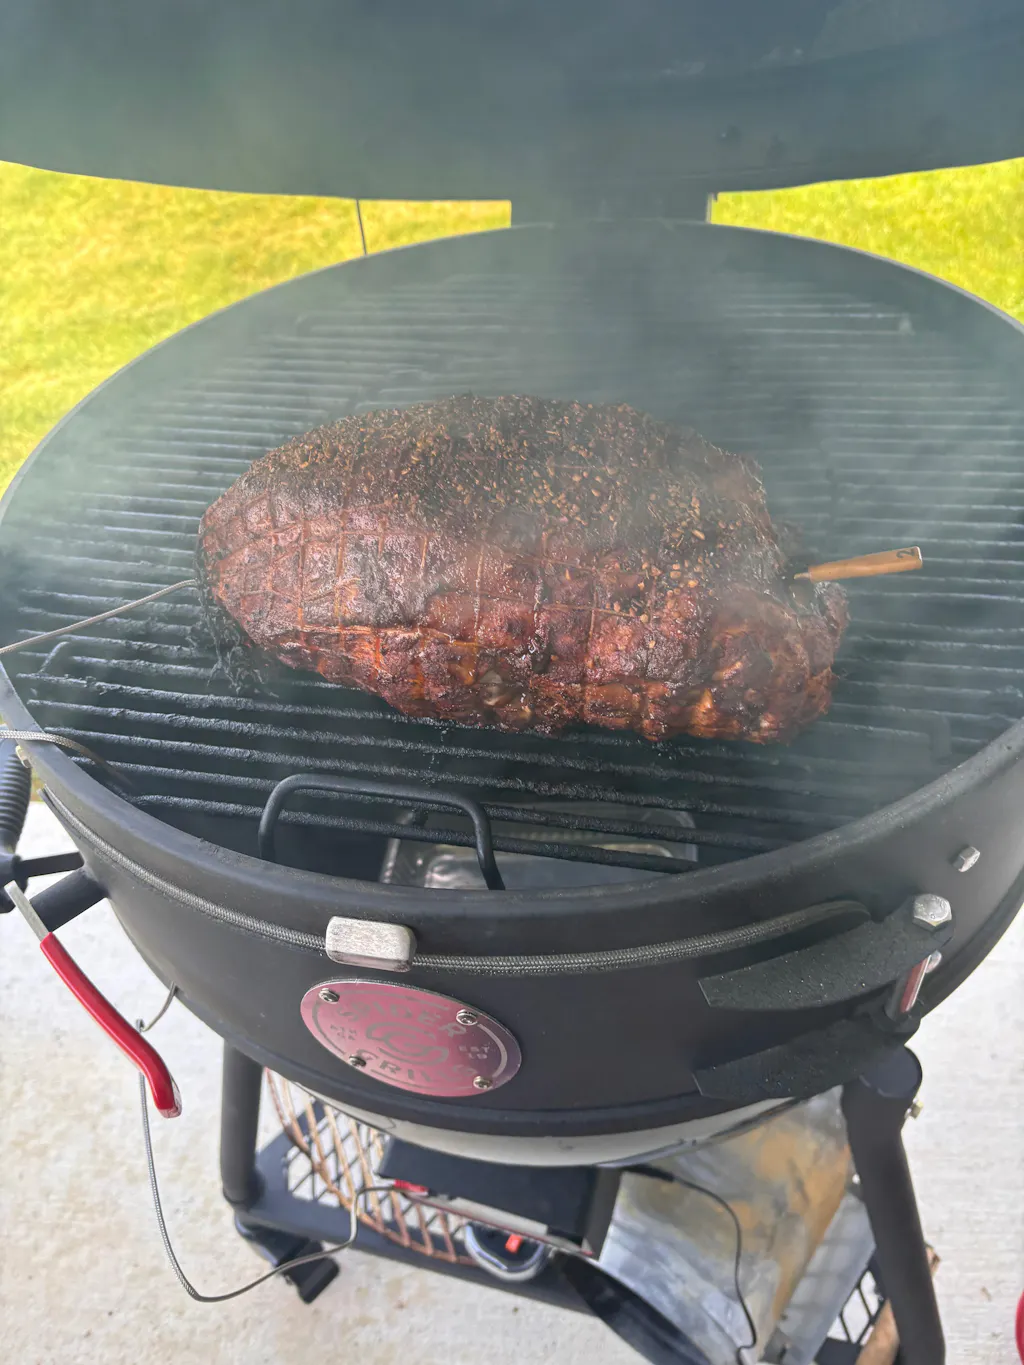
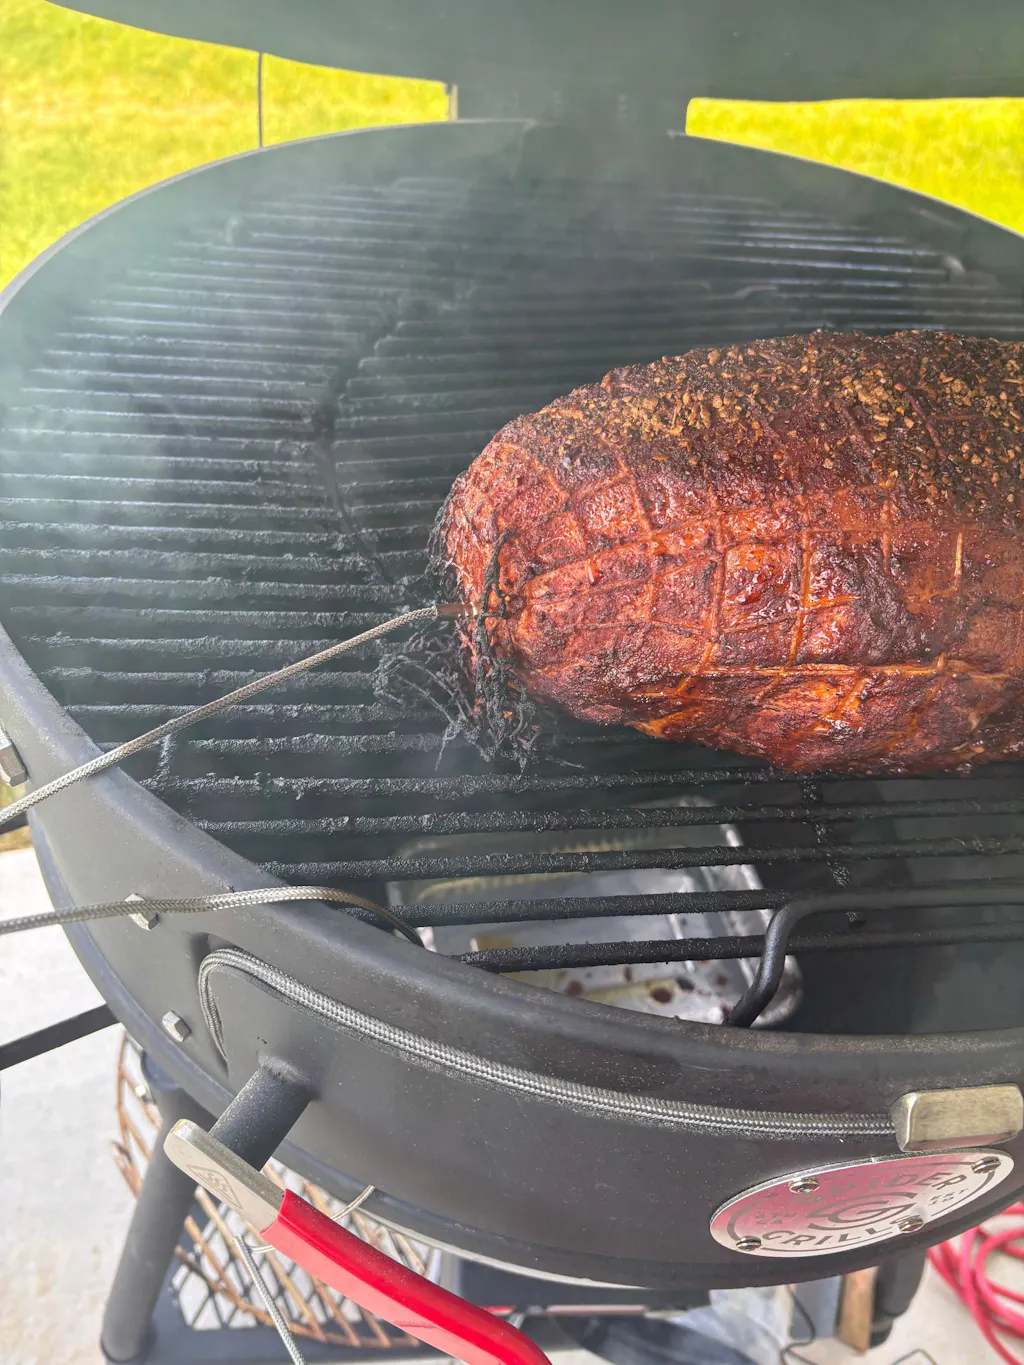
The webcraft was incredibly easy to install. And it has been fantastic to use, making grilling and smoking much easier and more refined.
Only ran two cooks through the Webcraft so far but no big complaints. I went all out and bought a couple batteries, the rotisserie and already had the Venom Controller. I haven't used the lower grid height yet. I also used a ceramic diffuser on one cook which blocks the ash basket completely. Used the rotisserie on the other cook. I am realizing I won't have access to the ash basket if I use the diffuser. Minor complaint and not Spider's fault. I plan to do baby back ribs and spare ribs at the same time this weekend. I will most likely use both grate heights to test it.
Absolutely awesome! This thing is built with high quality. Im looking forward to buying the rest of the parts!
Awesome!!!! Way to go. Built like a tank. Everything was well packaged and the assembly was simple and all parts and extras were accounted for. I can’t say enough good things. First two cooks were great. Holds temp perfectly and ease of use is just like an oven. Thank you guys!!!!
Subscribe to our emails
Be the first to know about new collections and exclusive offers.
- Choosing a selection results in a full page refresh.
- Opens in a new window.