


Spider Grills
Webcraft™ Elite Series for 22" Weber® Kettles
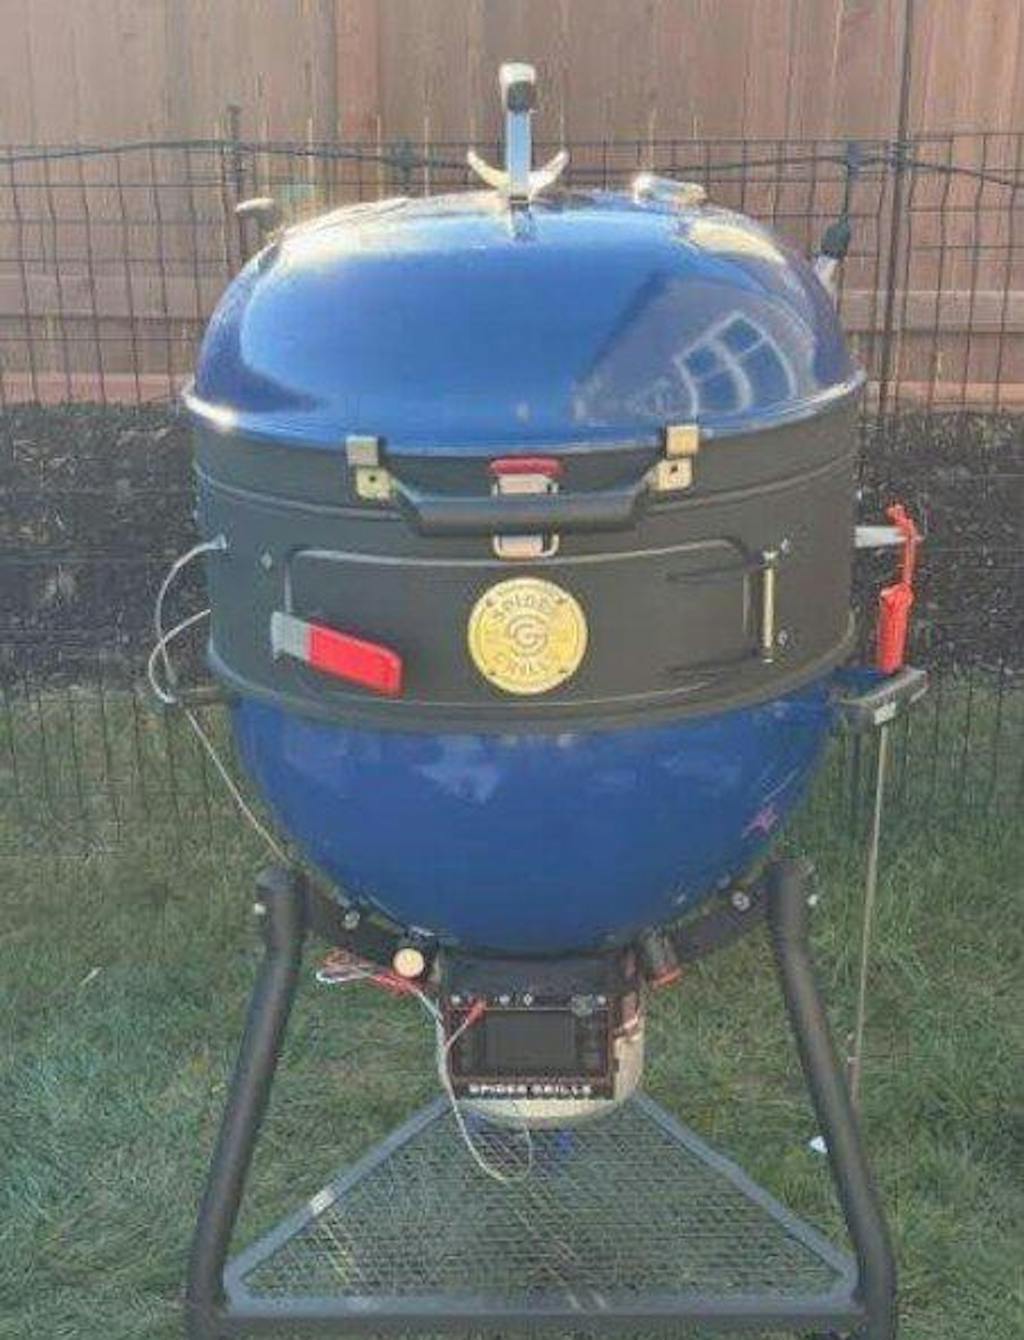
Webcraft™ Elite Series for 22" Weber® Kettles
UPGRADE YOUR WEBER® KETTLE CHARCOAL GRILL
The Webcraft Elite Series is the ultimate upgrade for your 22” Weber kettle grill. This bundle includes the Webcraft Ring, Venom Temperature Controller, and Spider Grills Kettle Cart, combining expanded cooking versatility, precision temperature control, and a premium grill platform.
Together, these upgrades transform a standard kettle into a powerful live-fire cooking system built for grilling, smoking, roasting, and more.
Couldn't load pickup availability
Product Features
Product Features
• Converts your 22-inch Weber® kettle grill into a modular live-fire cooking system
• Webcraft is compatible with 22-inch Regular Huntsman™ accessories like the rotisserie, pizza oven, and side shelves
• Front charcoal access door allows you to add fuel without removing the lid
• Mid-level cooking grate enables multi-level cooking setups
• Venom® Temperature Controller compatibility for precise airflow and temperature control
• Integrated probe ports for RTD temperature monitoring
• Stabilizer foot improves grill stability
• Heavy-duty cart to add stability and convenience to your current kettle
3-year limited warranty
Weber Grill Compatability
Weber Grill Compatability
Compatible grills include most standard 22" Weber kettle models such as:
• Weber Original Kettle 22"
• Weber Premium Kettle 22"
• Weber Master-Touch 22"
For proper fitment, the kettle bowl should be oriented with the handle at the rear and the ash arm on the left side during installation.
Quick Install Guide
Quick Install Guide
To add the Webcraft to your current kettle setup...
1. Remove the lid and cooking grate
Start by removing the kettle lid and cooking grate from your 22" Weber kettle grill.
2. Position the Webcraft ring
Place the Webcraft onto the kettle bowl, making sure the front lip hooks under the front rim of the kettle bowl.
3. Install kettle brackets
Attach the kettle brackets using the included screws and tighten to create a snug fit between the kettle bowl and Webcraft.
4. Reinstall the lid
Place the kettle lid on top of the Webcraft. For indirect smoking setups, orient the lid vent to the left side.
5. Install handle and stabilizer foot
Attach the front handle and install the stabilizer foot on the rear leg of the kettle for additional support.
Share


I’ve been running the Venom on my 22" Weber since May and was already impressed, but adding The Kettle Cart and The Webcraft has completely transformed my cooking experience. If you own a Weber, stop thinking about it and just do it.
The Performance
1st night i did a 2-hour Tri-tip cook, and the temperature stability was flawless. The Venom held it "dead on" the entire time. I ended up using the smoked Tri-tip for a chili, and the smoky depth of flavor was unlike anything I’ve ever made. The next day, I flipped to high-heat mode for Carne Asada. I loved that I didn’t have to tear the whole rig apart—I just used the lower cooking level and it worked perfectly.
The Build & Features
The Webcraft: The hinged lid is a massive quality-of-life upgrade. No more fumbling with the janky Weber lid catch or looking for a place to set a hot lid down. The added headspace and the front-access door make it feel like a professional smoker.
The Kettle Cart: This thing is a tank. It’s incredibly sturdy, and the heavy-duty casters make it easy to move around the yard. It gives the kettle the "premium" stance it deserves.
Final Verdict
This setup gives you the precision of a pellet grill with the soul and flavor of a charcoal kettle. It’s the best of both worlds. It has turned my standard kettle into the most versatile tool in my backyard.
Strongly recommended!
Subscribe to our emails
Be the first to know about new collections and exclusive offers.
- Choosing a selection results in a full page refresh.
- Opens in a new window.